For the complete documentation index, see llms.txt. Markdown versions of all docs pages are available by appending .md to any docs URL.
Install on Kubernetes
Install agentregistry in a Kubernetes cluster with Helm for shared team access to a central artifact registry.
Use this guide to install agentregistry in a Kubernetes cluster by using Helm. This approach is useful for team environments where multiple developers need shared access to a central artifact registry.
Before you begin
Make sure you have the following tools installed:
Install with Helm
The agentregistry Helm chart includes a bundled PostgreSQL instance for development and evaluation. For production, bring your own PostgreSQL instance instead.
Install agentregistry with the bundled PostgreSQL instance.
helm upgrade -i agentregistry oci://ghcr.io/agentregistry-dev/agentregistry/charts/agentregistry \
    --namespace agentregistry \
    --create-namespace
Note
The bundled PostgreSQL instance is for development and evaluation only. Data is lost if the PostgreSQL pod is restarted or rescheduled. For production, use an external PostgreSQL instance instead.
Verify that the agentregistry and PostgreSQL pods are up and running.
kubectl get pods -n agentregistryExample output:
NAME                                       READY   STATUS    RESTARTS   AGE
agentregistry-c46b8bd98-hvnzf              1/1     Running   0          45s
agentregistry-postgresql-9858cbcbf-tk7p9   1/1     Running   0          45s
Port-forward the agentregistry service to access the UI and API from your local machine.
kubectl port-forward -n agentregistry svc/agentregistry 12121:12121Optional: To connect AI development tools to the registry MCP server, port-forward the MCP port in a separate terminal. For more information, see Connect AI clients to the registry MCP server.
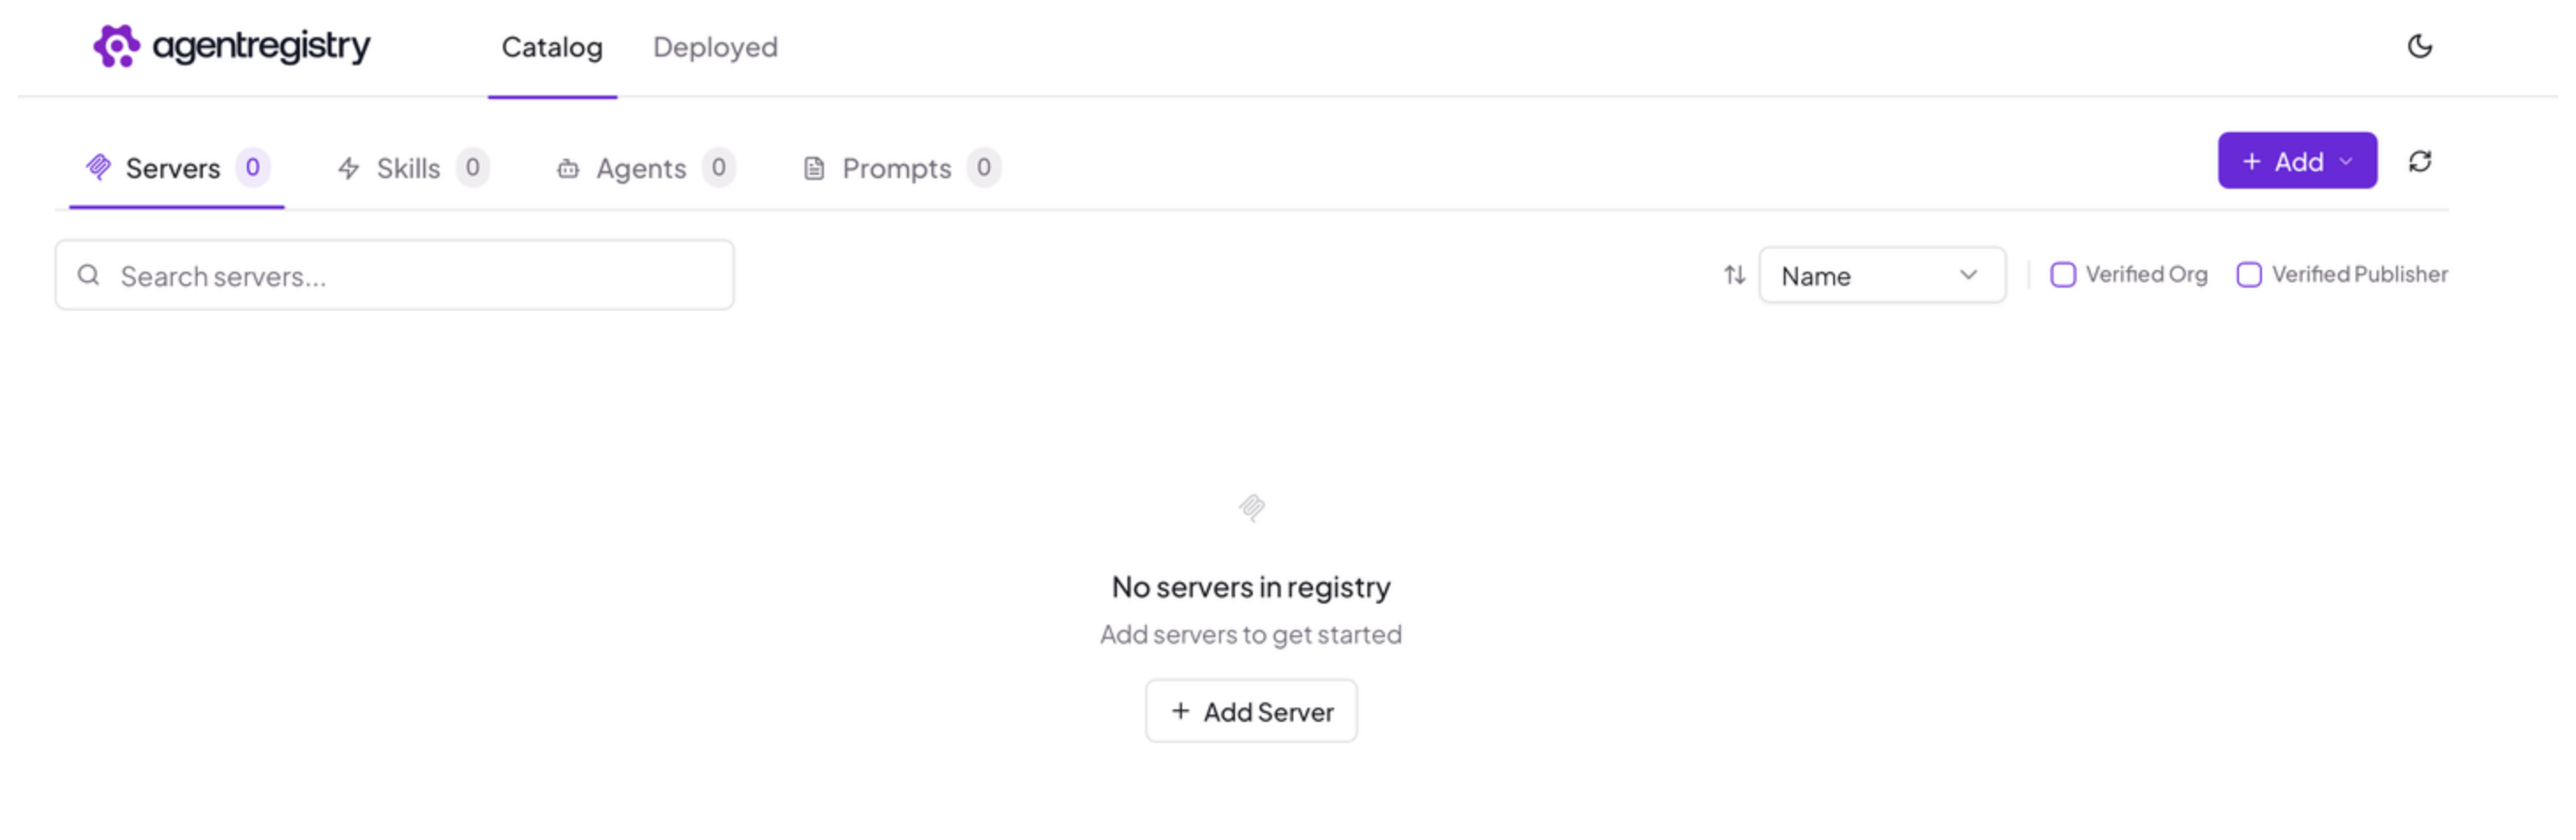
kubectl port-forward -n agentregistry svc/agentregistry 31313:31313Open the agentregistry UI in your browser.
Install the arctl CLI
Install the
arctlbinary on your local machine to manage agentregistry resources.curl -fsSL https://raw.githubusercontent.com/agentregistry-dev/agentregistry/main/scripts/get-arctl | bash export PATH="/usr/local/bin:$PATH"Verify that the CLI is installed correctly.
arctl version
Tip
By default, arctl connects to http://localhost:12121. If your agentregistry instance is exposed at a different address, set the ARCTL_API_BASE_URL environment variable or pass --registry-url on each command. For example: export ARCTL_API_BASE_URL=http://<your-agentregistry-host>:12121.
Next steps
With agentregistry up and running, you can explore how to build, publish, and deploy AI artifacts:
- Agents: Build, run, and publish Docker images for agents.
- MCP servers: Create and run MCP tool servers, add tools, and publish them as Docker images.
- Skills: Build and publish skills that you can add to your agents.
- Prompts: Build and publish prompts that you can add to your agents.
- Connect AI development tools: Connect Claude Code, Cursor, VS Code, or Kiro to the registry catalog.