For the complete documentation index, see llms.txt. Markdown versions of all docs pages are available by appending .md to any docs URL.
Publish to catalog
Add your MCP server to the agentregistry catalog so that you can start deploying the MCP server to connected runtimes.
About the registry catalog
Agentregistry serves as a catalog for your AI artifacts, including agents, skills, and MCP servers. You can decide which MCP servers you want to make available to your registry users by adding them to the registry catalog. After an MCP server is published in the catalog, registry users can deploy it to a connected runtime.
Before you can add an MCP server to the catalog, you must build a Docker container image and push it to a container image registry. The registry deploys MCP servers from the container image. Optionally, you can also add a reference to the source code repository in your mcp.yaml file so that catalog users can trace the server back to its source.
| Field | Purpose | Required for deployment? |
|---|---|---|
spec.source.package | The runnable container image. The registry deploys from this. | Yes |
spec.source.repository | A link to the source code repository. Traceability metadata only — not used for deployment. | No |
Before you begin
- Install agentregistry on Kubernetes.
- Create an MCP server.
- Optional: Add tools to your MCP server.
Build the image
Set your container registry as an environment variable. The examples in this guide use GitHub Container Registry (
ghcr.io). Replacemy-orgwith your GitHub organization or username.export REGISTRY=ghcr.io/my-orgLog in to your container registry.
docker login ghcr.ioBuild the MCP server image and push it to your registry.
arctl build mymcp --image $REGISTRY/mymcp:latest --pushExample output:
Building Docker image for python project...
...
✓ Successfully built Docker image: ghcr.io/my-org/mymcp:latest
Tip
To build a multi-architecture image (for example, to support both
amd64andarm64nodes in your cluster), add--platform linux/amd64,linux/arm64. For more information, see the arctl build command.
Publish the server
Write the
mcp.yamlmanifest. The$REGISTRYvariable set in the build step is used here to keep the image path consistent. The registry validates that the image exists at apply time, so make sure the image is pushed before running this command.cat > mymcp/mcp.yaml << EOF apiVersion: ar.dev/v1alpha1 kind: MCPServer metadata: name: mymcp spec: title: mymcp description: mymcp MCP server source: package: origin: type: oci identifier: $REGISTRY/mymcp:latest oci: serverName: mymcp transport: type: http port: 3000 path: /mcp EOFPublish the MCP server to the agentregistry catalog.
arctl apply -f mymcp/mcp.yamlExample output:
→ Injecting labels from arctl.yaml: arctl.dev/framework=fastmcp, arctl.dev/language=python
✓ MCPServer/mymcp (latest) created
Verify that the MCP server is published in the catalog.
arctl get mcpsExample output:
NAME    TAG      DESCRIPTION
mymcp   latest   mymcp MCP server
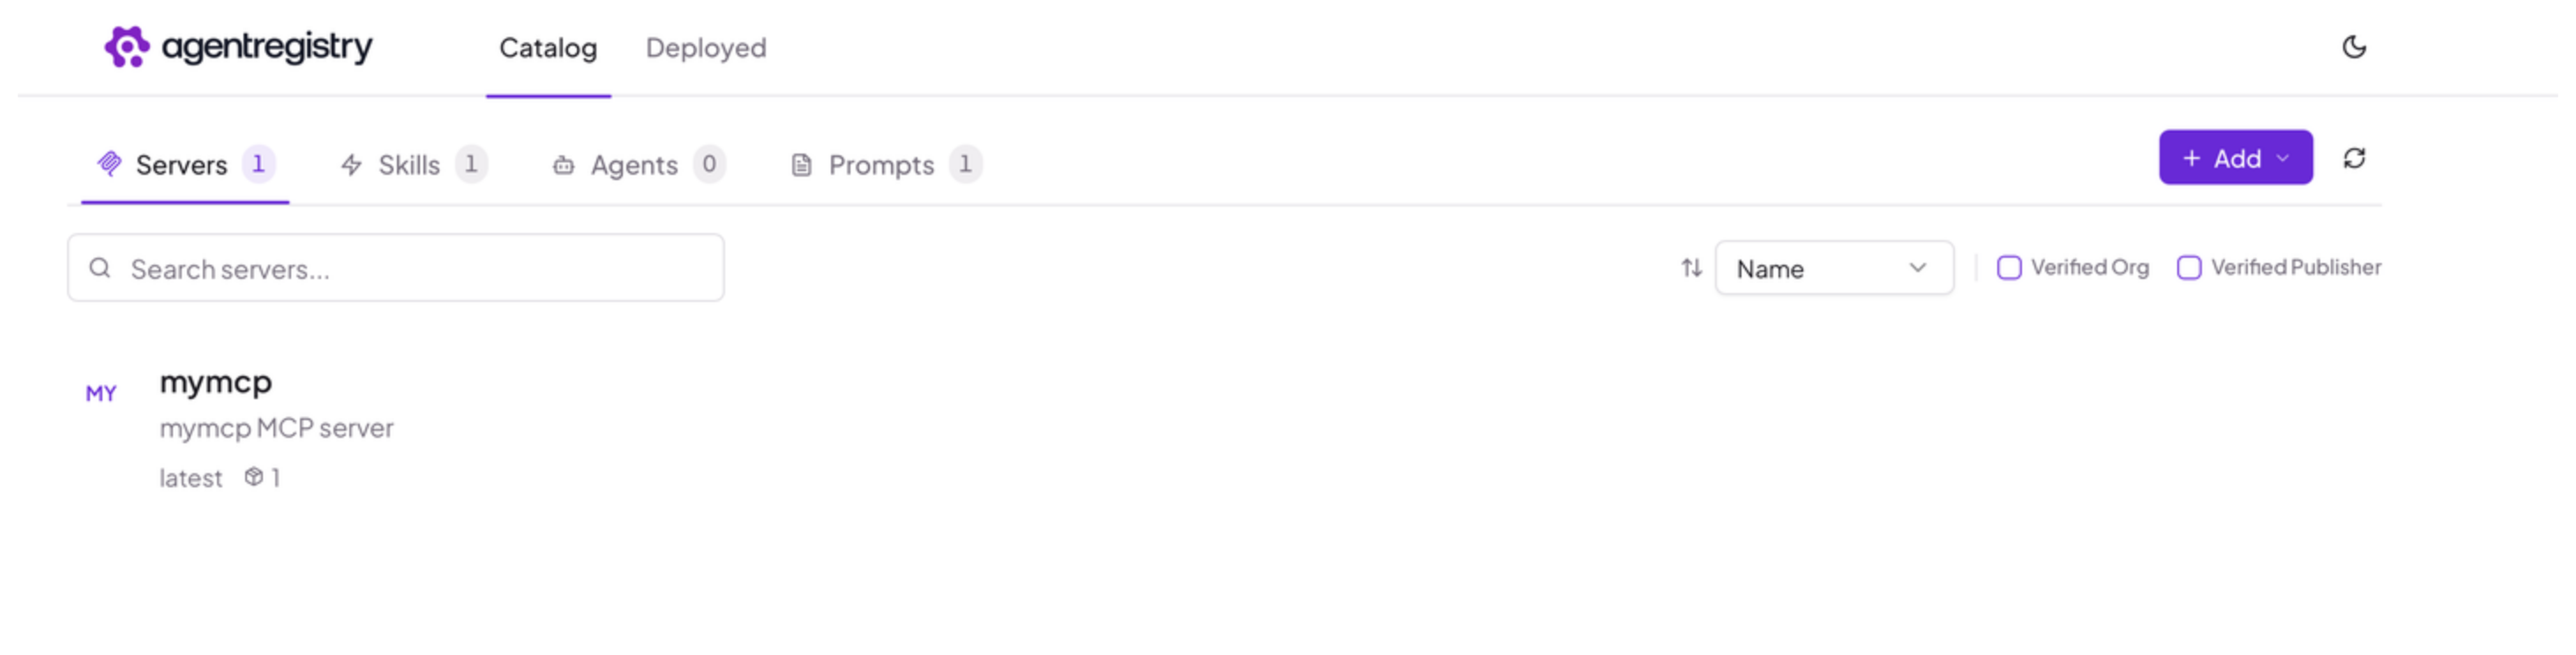
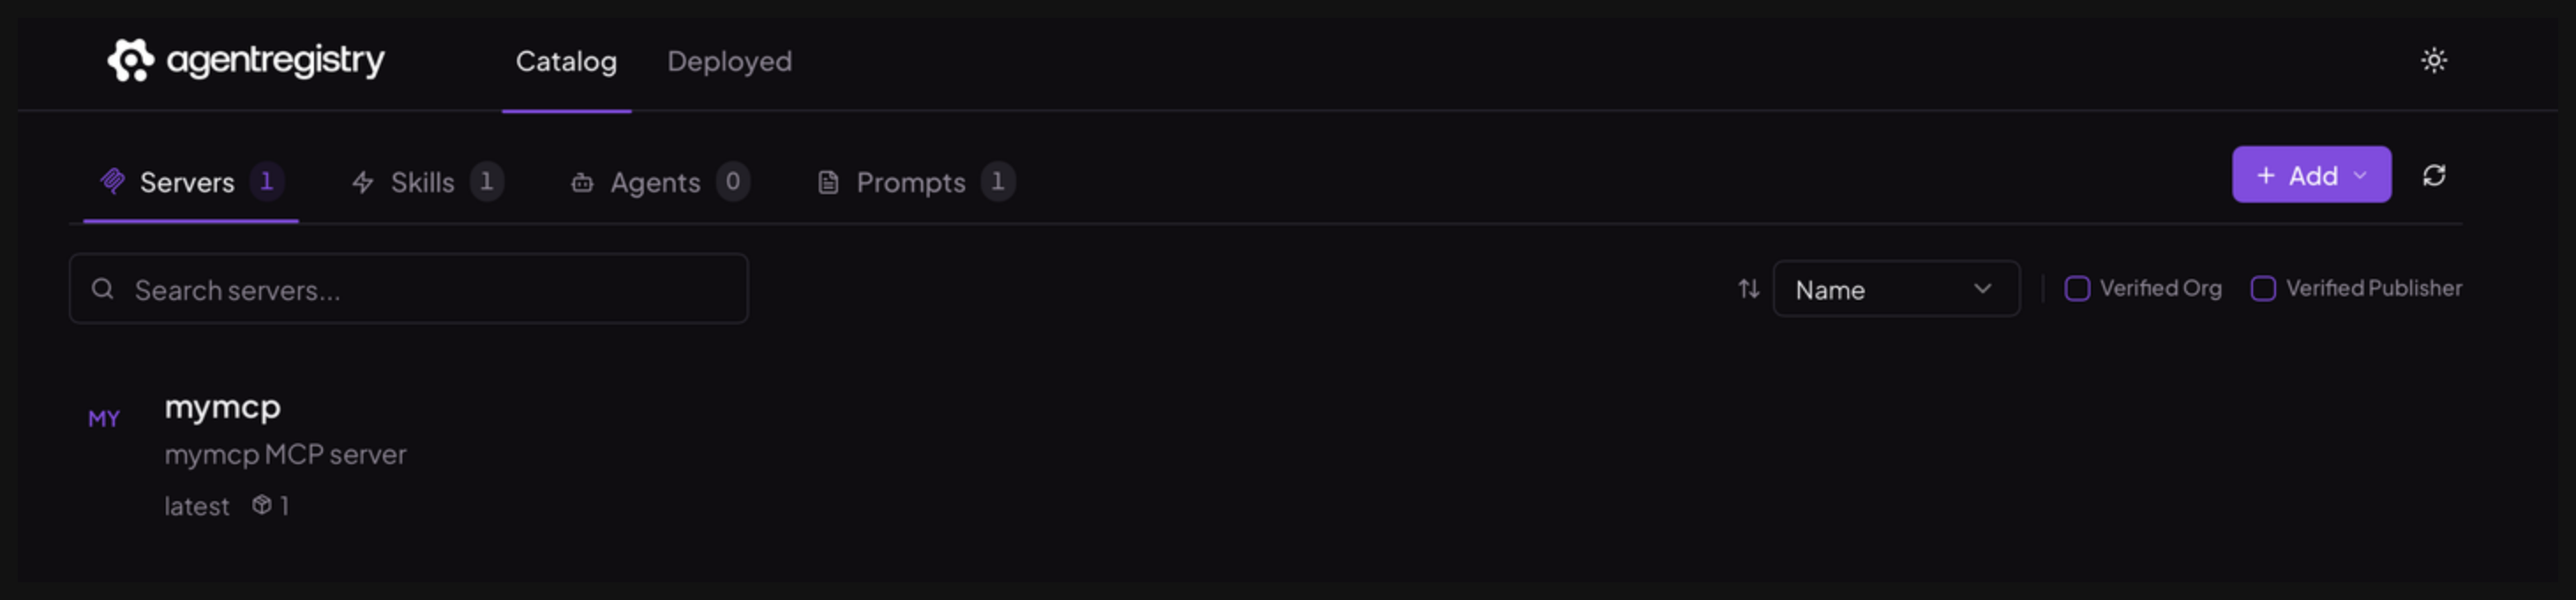
Optional: Open the agentregistry UI and go to the Servers view to review your published MCP server.
Next
Cleanup
To delete an MCP server from agentregistry, use arctl delete.
arctl delete mcp mymcp